
Presenting a poster in a scientific conference — a small step of a grad student for introducing his/her research work to the scientific community. It is an usual practice in academia for the new student researchers who gain their first experience of presenting their work at a conference in the form of a poster.
A brief of a scientific poster:
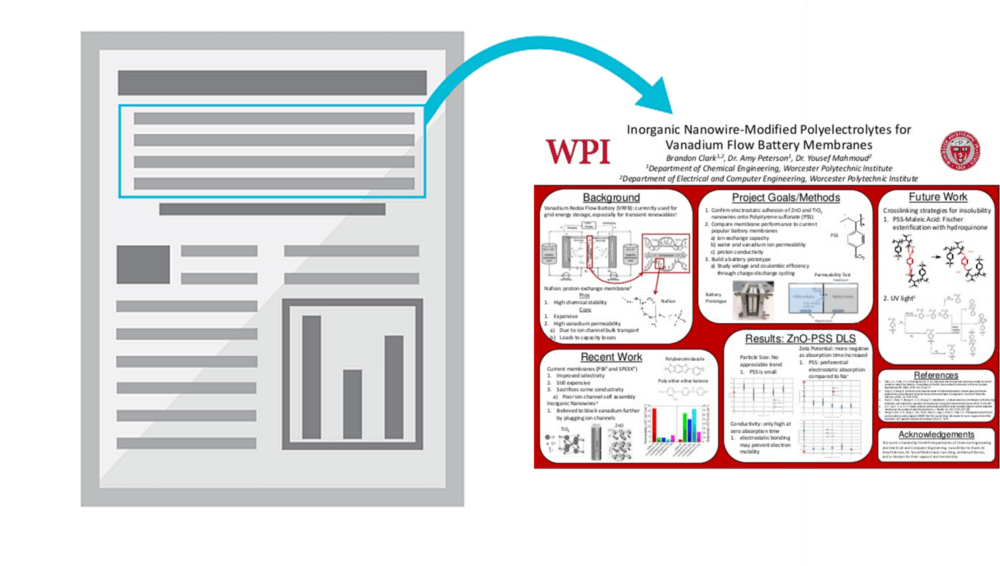
A poster is a synopsis of your research work in a visually engaging way. It is not a bottomless pit where you dump all of your findings in the form of data, table or images. You have dozens of plots and couple of images, and you are super-excited to share them with the world — Just hold on over there for a minute. Think and ask yourself — are the really necessary? And the answer that will pop up in your mind should be No.
In a conference, a poster should be your networking tool — it should be able to attract people’s attention from a distance and serves as a conversation starter. People usually spend 3–5 minutes on a poster, and if they are interested then they might want to know all the details of your research. You can deliver the background information so that they can put your work into context, understand what you have done and why you have done, and also it’s broader impact. In short, it is a graphical abstract of your research whose sole purpose is to dive the attention of the crowd to your research.
How should you start?
Before you rush to open your power point or any other design software, ask yourself the following questions: who is my ideal audience for this scientific poster? Should i design for the experts in my own field, or perhaps for the broader audience? This is a key point because if you put your effort into making your poster understandable to the broader audience, you will automatically increase your potential and impact. As an academic, we often have the tendency of writing using scientific jargon, passive tenses and tangled sentences to portray ourselves most erudite person. Don’t do that. Use plain English words — it will serve both experts and non-experts.
Create a story:
You want to captivate your audience, create a story. Like all great stories your research needs a beginning, a middle and an end. As a story teller, your responsibility is to make the content both engaging and exciting.
The introduction should set the scene and introduce the main characters:
- What is the necessary background information about your research topic that the audience must know?
- How did this lead you to your research question, what were you hoping to find out and why?
- Who are the main characters (e.g. a disease, a drug, a cell type, a brain region, a technique)? What are the relevant parts of their “characteristics” to the story?
The middle section is the adventure, it answers:
- How did you get from your research question to your conclusion? Why did you choose to take that route?
- What did you find on your way? Were there any interesting twists?
The final section is the conclusion to the story:
- What is the ultimate consequence of your journey? What does this mean for your characters?
- Is this really the end of the adventure or are there plenty more adventures still to come? What might they look like?

Elements of a scientific poster:
Once you have sorted out above those, now you are ready to design your poster. Your poster may include many of the following sections
- Title — should clearly describe the main point/topic
- Collaborators (including you) and their institutional affiliations
- Abstract
- Background/literature review
- Research questions
- Materials, approach, process, or methods
- Results/conclusion
- Future directions, especially if this is a work in progress
- Acknowledgements
Make the flow of a poster simple, intuitive, and easy to follow. Make sure that you have sufficient white space around text and sections to ensure a clear layout and flow.
Design details:
- You don’t need to stick with one font — but not more than three. You can use Sans Serif fonts like Helvetica or Gill Sans for the body and a serif for the titles.
- Font sizes — for Title: 85–90 pt, Authors:56 pt, Section Headings: 56–60 pt, Body Text: 28–32 pt, Captions: 24–28 pt.
- Use bold face or italics or combinations to emphasize words and phrases. Use left-aligned text, avoid using full justified if it creates large gaps between words.
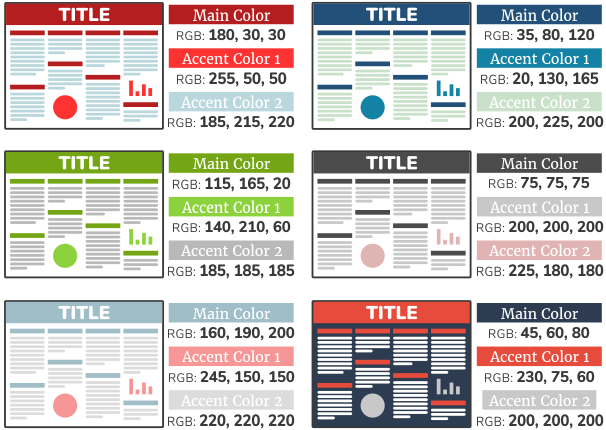
- Using multiple colors is a good idea to engage readers, but it should not be more than 2–3 colors. Too many colors create distraction rather making it engrossing.
- Choose good contrast between background and text. Avoid using bright background colors and low contrast text e.g. blue on red, dark on blue, dark on red etc. A general rule is to use dark type on light color background and keep the contrast high.
- Stay away from backgrounds that are too busy or too colorful as it makes text hard to read.
- Selectively incorporate charts, graphs, images and equations. Avoid using tables of data — eats up space and is hard to interpret.
- Use high resolution figures and images. Usually EPS figures usually come out great on posters.
- Always title your graphs. Highlight the peak, trough, or other comparison of interest with an arrow containing the values of that data point.
- Make 4–5 bullet statements in your conclusion section that summarizes your findings.
Before you print:
- Get feedback from your professor and lab-mates. Ask them to proofread it too.
- Print out a small copy to better judge your layout choices; use ruler to check the alignments of columns and figures.
Presenting your scientific poster:
Before your poster session starts make sure that you completely understand all the figures that you put on. You should be able to explain them fully and know their full implications. You should be able to tell all the key-points of your research story without referring to the printed texts. Always be prepared to answer likely questions with confidence, and know how to deal with difficult questions that you might not be able to answer fully.
Finally, you will obviously get feedback — I remember in one my poster session a Japanese professor advised me to modify the title of my poster, people from your field may have some valuable comments for your figures. Take those seriously and improvise your work accordingly for your next presentation.
Disclaimer: No A.I. was used to generate this content.
Pingback: How to Design Presentation for a Scientific Conference? - gradbunker.com